Hey all! Last weekend my twin sons turned 3 years old. Wow! Having 5 kids, we do not throw them all a big birthday party every single year, more like every other. It gets to be too much, especially since my kids are 5 of 13 grand kids. I don't want to do that to my extended family. But, this was their year and it couldn't have gone better. They are at an age now where the build up to their monster party was pretty adorable. They watched the party prep progress all week long and got so very excited with each step of the way. Love it!
As a family of 7 on one income, it is important not to go overboard when creating a party. I was able to throw this whole party for about $75. I invited 32 people (including us) and ended up with 23 total. If you break that down...that is only $3.30 per person. Nice! Included in that cost was invitations, decorations, a game, a craft, food and punch, party favors and a photo booth. Keep in mind that I will always try and use items that I already have on hand or that I can find for free, which helps keep the cost down quite nicely.
Why monsters? You mean besides the fact that my crazy twin boys are sweet little monsters? Well, a couple that I am friends with had a monster party for their nephew a while back and had hand made these awesome decorations out of scrapbook and craft paper. They put so much work into them and did not want to just throw them away so they asked me if I was interested in them. Um..YES! Please and thank you! That is where this all began.
 |
| Aren't they cute?! |
There were 13 large monsters, 10 small ones and some monster mouths and eyes of different sizes. Perfect. I rolled with it.
After seeing these I went straight to Pinterest and created a board that you can peek at HERE. Pinterest is a wonderful (and free!) resource for basically any project you can think of. This is where I found almost all of my ideas for this party. There are also some pins that I didn't end up using but they are just too cute not to keep. Check it out!
Evite.com is my favorite (free!) resource for sending invitations via email. They have tons of fun free templates to choose from. They also have premium options that you can use for a fee but I have yet to need that service. I love free! You can also send messages to guests as needed and keep track of your rsvps. Here is the template I chose:
 |
| Image from www.evite.com |
Unrelated to the party cost, I ordered my twins Monster's Inc. themed t-shirts to wear at their party. A birthday present, of course. There is currently a 2 pack for only $16.99 on Amazon.com (free shipping for Prime members). You can check them out HERE.
 |
| Image from www.Amazon.com |
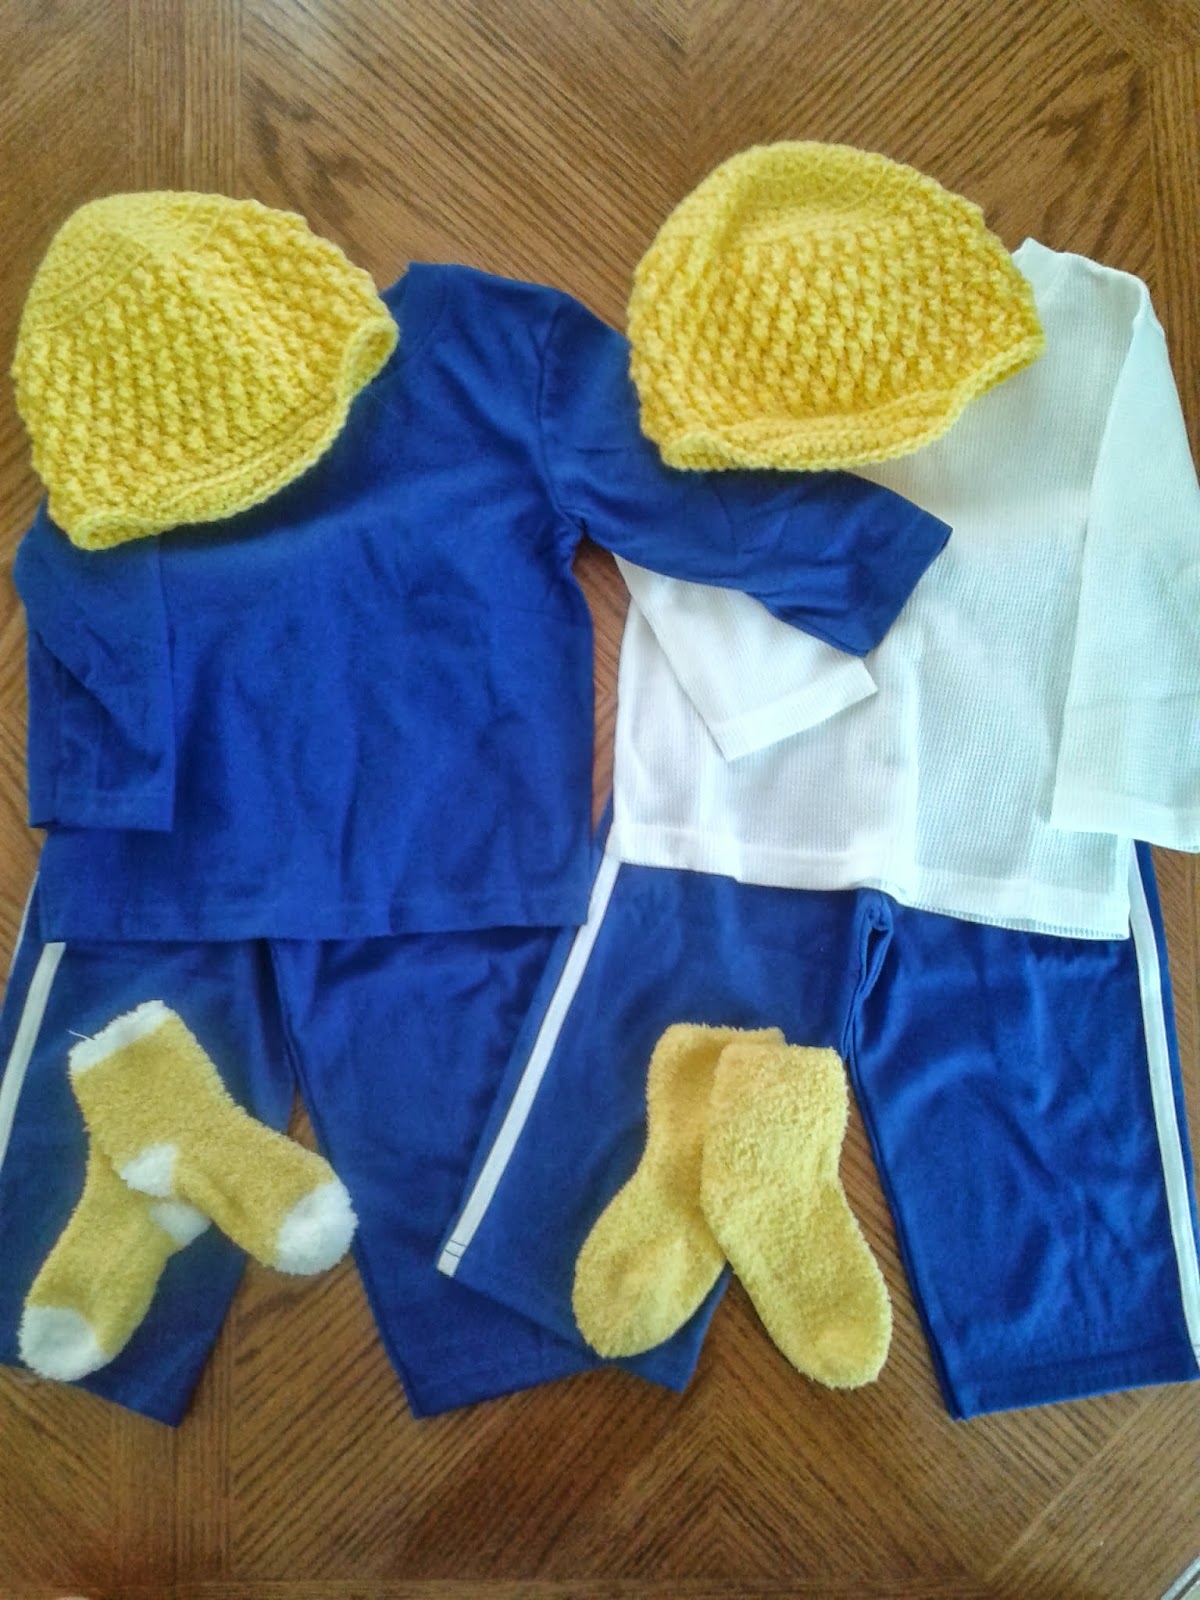
During the week leading up to the party, I slowly worked on my party projects while the kids were playing nicely during the day or after they went to bed at night. I started out with the party hats and the photo booth props.

The hats were plain and I just glued on googly eyes and taped teeth into each one. I cut the teeth out of white construction paper. So easy!
For the photo booth props, I cut out the desired shapes from a piece of foam board using an exacto knife and covered them with construction paper using Elmers glue. I also purchased 4 wooden 1/4" dowels that I had my hubby cut in half for me with the Dremel so there would be 8 sticks total. These I hot glued onto the back of each prop. I also made a frame for people to hold using another piece of foam board.

The morning of the party I made a monster back-drop on my living room wall using 2 rolls of wrapping paper and a pack of border from the dollar store. Here is a picture of the finished product:

The box I used to hold the props was an old potato chip box we had lying around that I wrapped and poked holes in the top of. Total project cost was just under $10 and it was a hit at the party. We captured so many great pictures. Here are just a few...
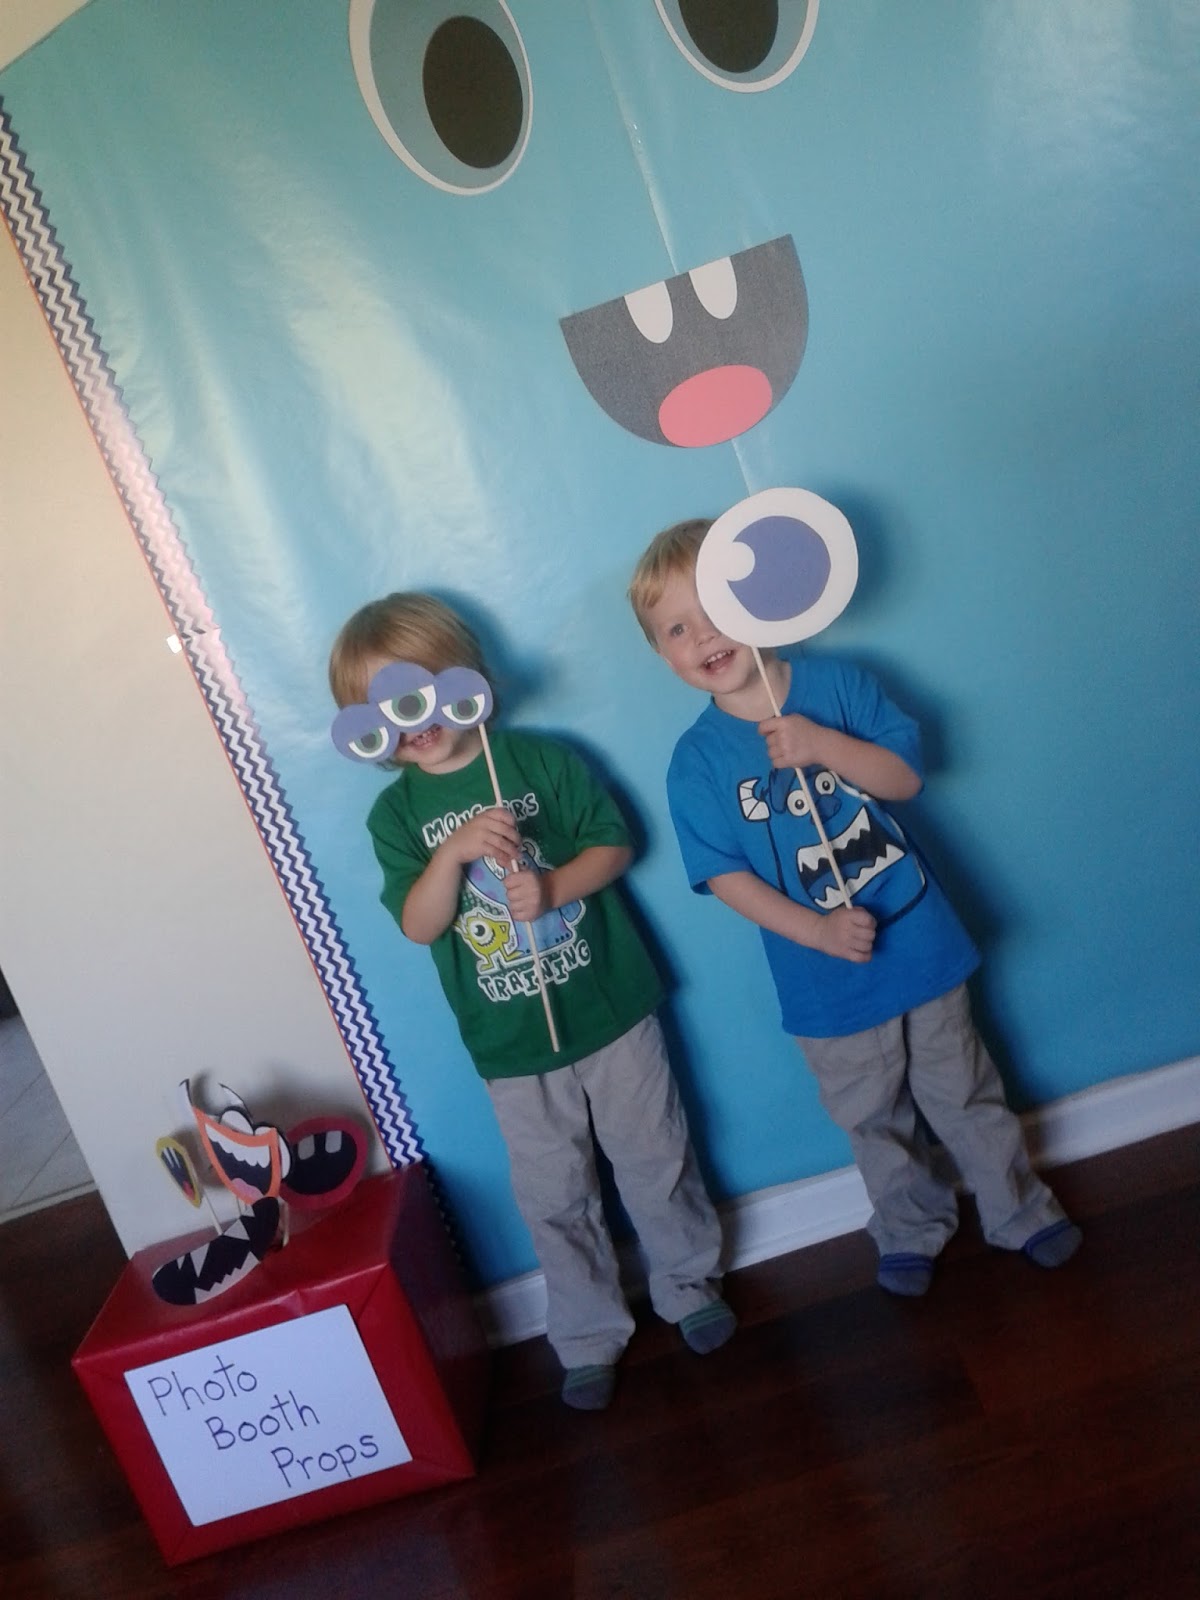 |
| The birthday boys! |
 |
| Me & my daughter |
 |
| My oldest son and sweet little nephew |
I decorated the front door very simply using 2 paper plates and construction paper, making a big monster smile to greet our guests.

When guests first arrived I sent their kids straight to the craft table. This gave the grown-ups a chance to settle in and say hello to everyone. Basically, I covered the train table in the toy room with a plastic dollar store tablecloth and set up there. I put out a stack of plain paper plates, a bowl of tissue paper squares, Elmers glue, a handful of crayons, white paper triangles I had cut out in random sizes and a pack of googly eyes. The only thing I had to purchase for this project were the eyes. $7.99 for the big pack. Total splurge. Ha! Everything else I already had around the house. With these they were able to make "furry" monster faces. It kept them nice and busy for a little while.


For the game I kept it very simple. I used 1 piece of foam board and a bag of 12 plastic ping pong sized eyeballs (Halloween section), both from the dollar store. I colored a big monster on the foam board and cut out a hole for the mouth. This was similar to a bean bag toss game. The kids took turns throwing eyeballs into the monster's mouth and whoever made the most in won a bag of sour gummy worms. The little ones stood up close and the older the kids were, the farther back they had to stand. My nephew Austin won with a whopping 6 eyeballs!

Usually, I like to make a ton of food or a big meal but since having my twins I have been better with knowing my limits of what I can/should do. I decided to relieve some possible stress and host the party from 2-5 PM (between meal times) so that munchies and treats would suffice. This also helps keep costs down. The menu was cheese balls, Asian snack mix, trail mix, baby carrots and dip, Rice Krispie treats, sherbet punch, cupcakes and cakepops. My mother-in-law also brought over a yummy tray of little ham and cheese sliders, one of my all time favorite party foods! You can find a great recipe for them HERE.
 |
| Monster party food! |
I love candy eyeballs. So easy to turn sweet treats into little monsters. I couldn't help but make the cakepops into little Mike Wazowskis!
And my favorite project I saved for last! The favors for our kiddo guests. Instead of buying candy and little plastic toys that break and handing out baggies or the like, I decided to do the Adopt-A-Monster idea I found on Pinterest. Now, you can just order a 12 pack of plush monsters on Amazon.com for only $14 currently so please know that there is a way to do this without hours and hours of work (HERE)...but, I do soooo love a good crafty night...or 2. I enjoyed this one very much.
Every kid at the party got to take home a cute and unique little monster plush or puppet and then my twins got to keep the rest. Total cost to me was just under $10. (Not to mention 2 nights in front of my sewing machine...Yay!) I used 2 packs of 12 count felt rectangles and one bag of polyfil fiber. For their eyes I just used old buttons from my craft supplies. Here are some photos of the process, an Adopt-A-Monster tutorial.
 |
| Pin 2 pieces of felt together. |
 |
| Draw desired monster shape onto one panel of felt using a marker. |
 |
| Cut out monster shape. |
 |
| Layout desired face designs using felt scraps and old buttons. |
 |
| I worked in batches of 4 monsters at a time. |
 |
| I was running out of ideas for different monster shapes so I used Google images to help with inspiration. |
 |
| Sew on your buttons and scraps, being sure to do so on the right side of the felt fabric. Then, sew around the edges of the monster, leaving enough open area to turn the monster inside-out for stuffing. If you are making it a puppet, sew all but the bottom of the monster closed and then turn it inside-out. |
 |
| Voila! 12 spectacular monsters to be adopted. |
So, there it is. One of my best kiddo parties to date in my humble opinion. Lol!. I hope you enjoyed reading about it. Thanks for stopping by!
If you liked this post, you may also like:
The Sweetest Thing
My Twins & Their First Year: A Celebration